
参考:
ollama
手动安装
curl -L https://ollama.com/download/ollama-linux-amd64.tgz -o ollama-linux-amd64.tgz
sudo tar -C /usr -xzf ollama-linux-amd64.tgz
启动ollame
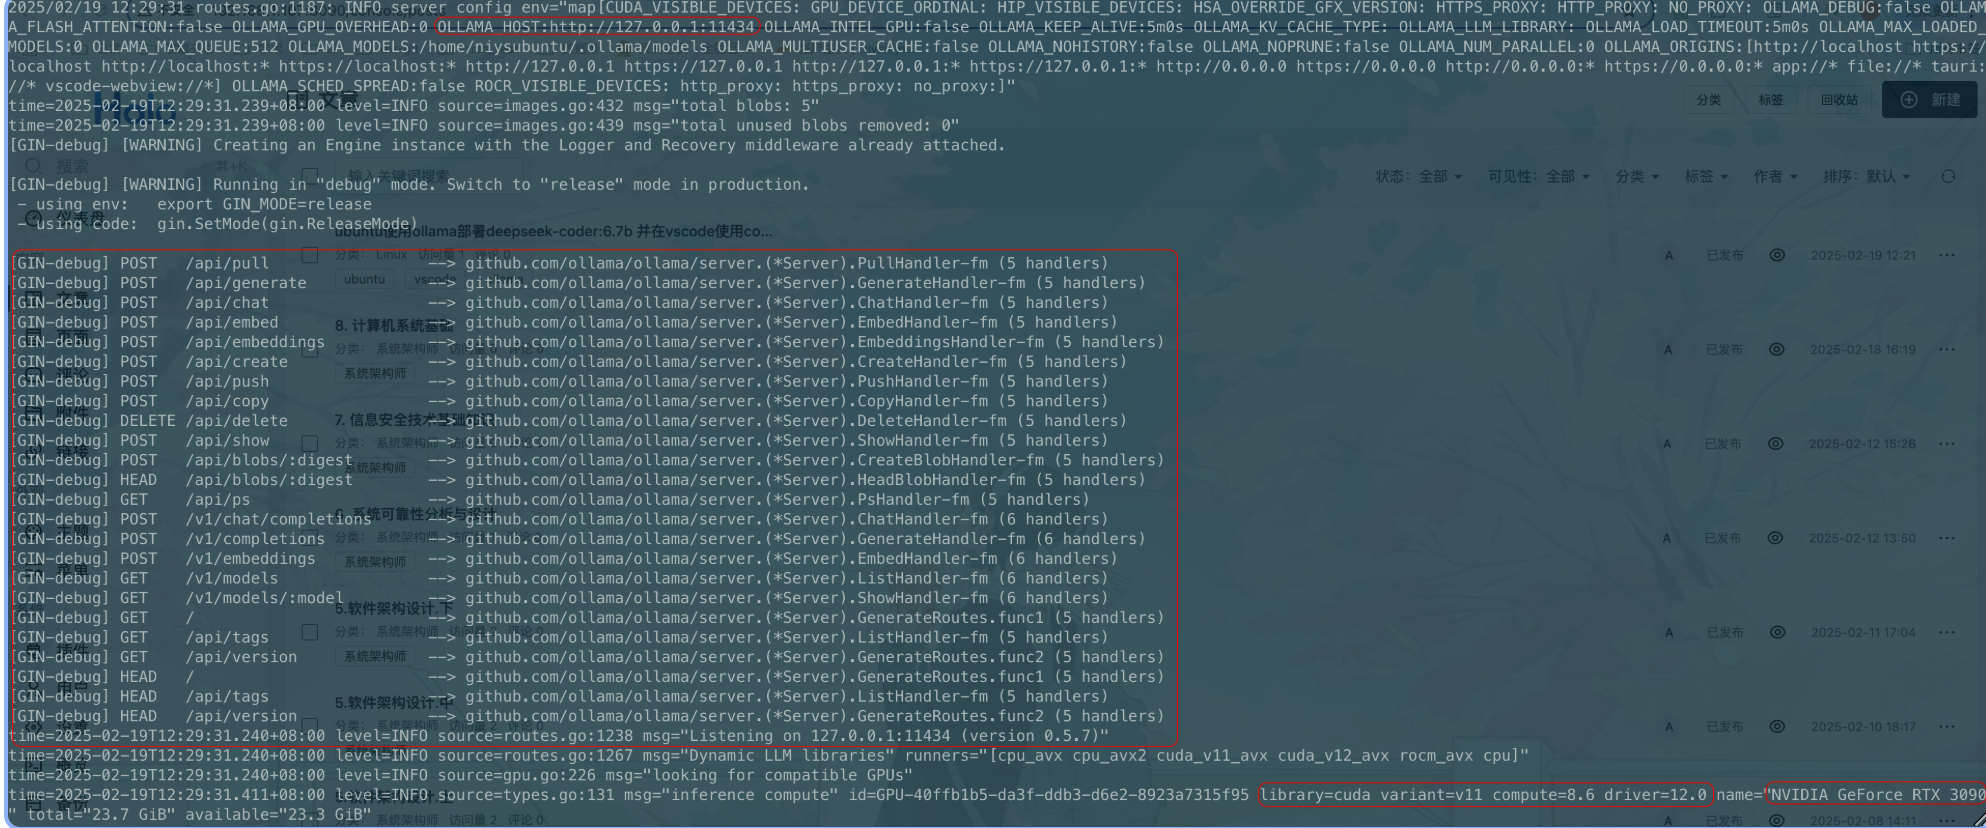
如果要是局域网内都能使用该服务:
export OLLAMA_HOST=0.0.0.0:11434然后开启服务。
ollama serveollama启动后,如下图可以查看api。服务在http://localhost:11434监听。
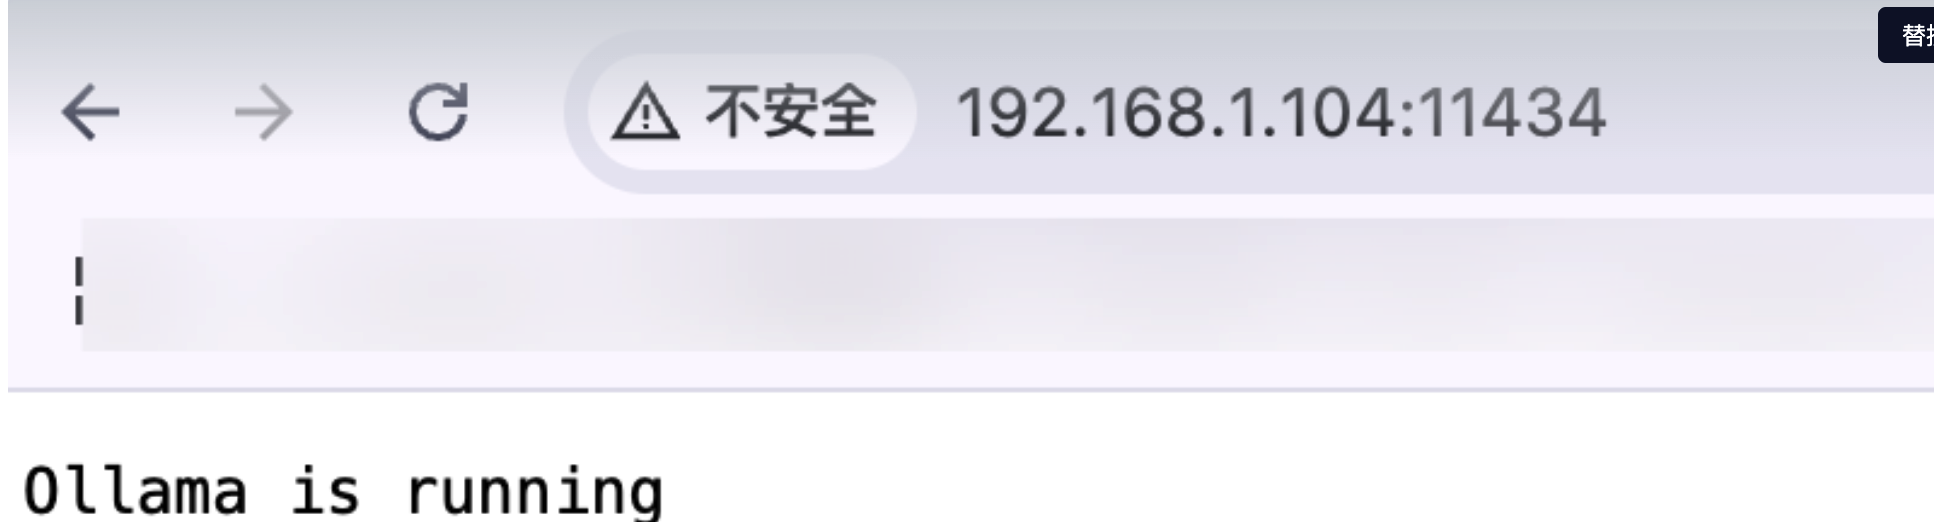
web上访问:
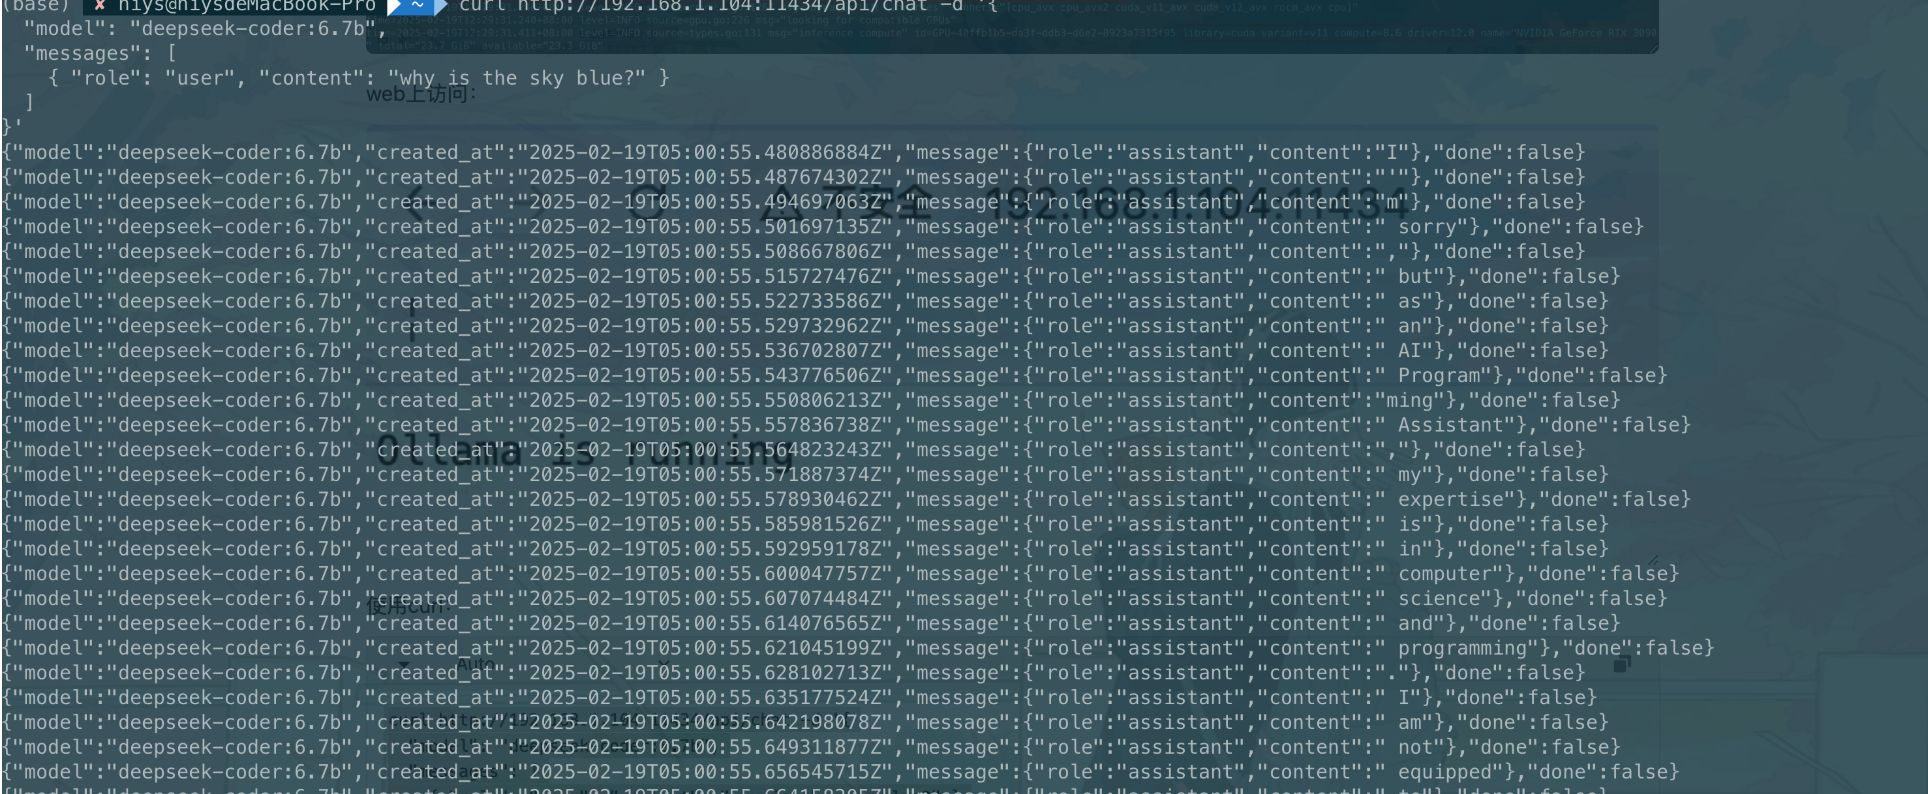
使用curl:
curl http://192.168.1.104:11434/api/chat -d '{
  "model": "deepseek-coder:6.7b",
  "messages": [
    { "role": "user", "content": "why is the sky blue?" }
  ]
}'
查看版本
ollama -v运行部署模型
a
运行结果

创建开机自启服务
Create a service file in /etc/systemd/system/ollama.service:
[Unit]
Description=Ollama Service
After=network-online.target

[Service]
ExecStart=/usr/bin/ollama serve
Restart=always
RestartSec=3
Environment="PATH=$PATH"

[Install]
WantedBy=default.target
开启此服务:
sudo systemctl daemon-reload
sudo systemctl enable ollama
卸载ollama
Remove the ollama service:
sudo systemctl stop ollama
sudo systemctl disable ollama
sudo rm /etc/systemd/system/ollama.service
Remove the ollama binary from your bin directory (either /usr/local/bin, /usr/bin, or /bin):
sudo rm $(which ollama)Remove the downloaded models and Ollama service user and group:
sudo rm -r /usr/share/ollama
sudo userdel ollama
sudo groupdel ollama
Remove installed libraries:
sudo rm -rf /usr/local/lib/ollamaContinue
修改配置
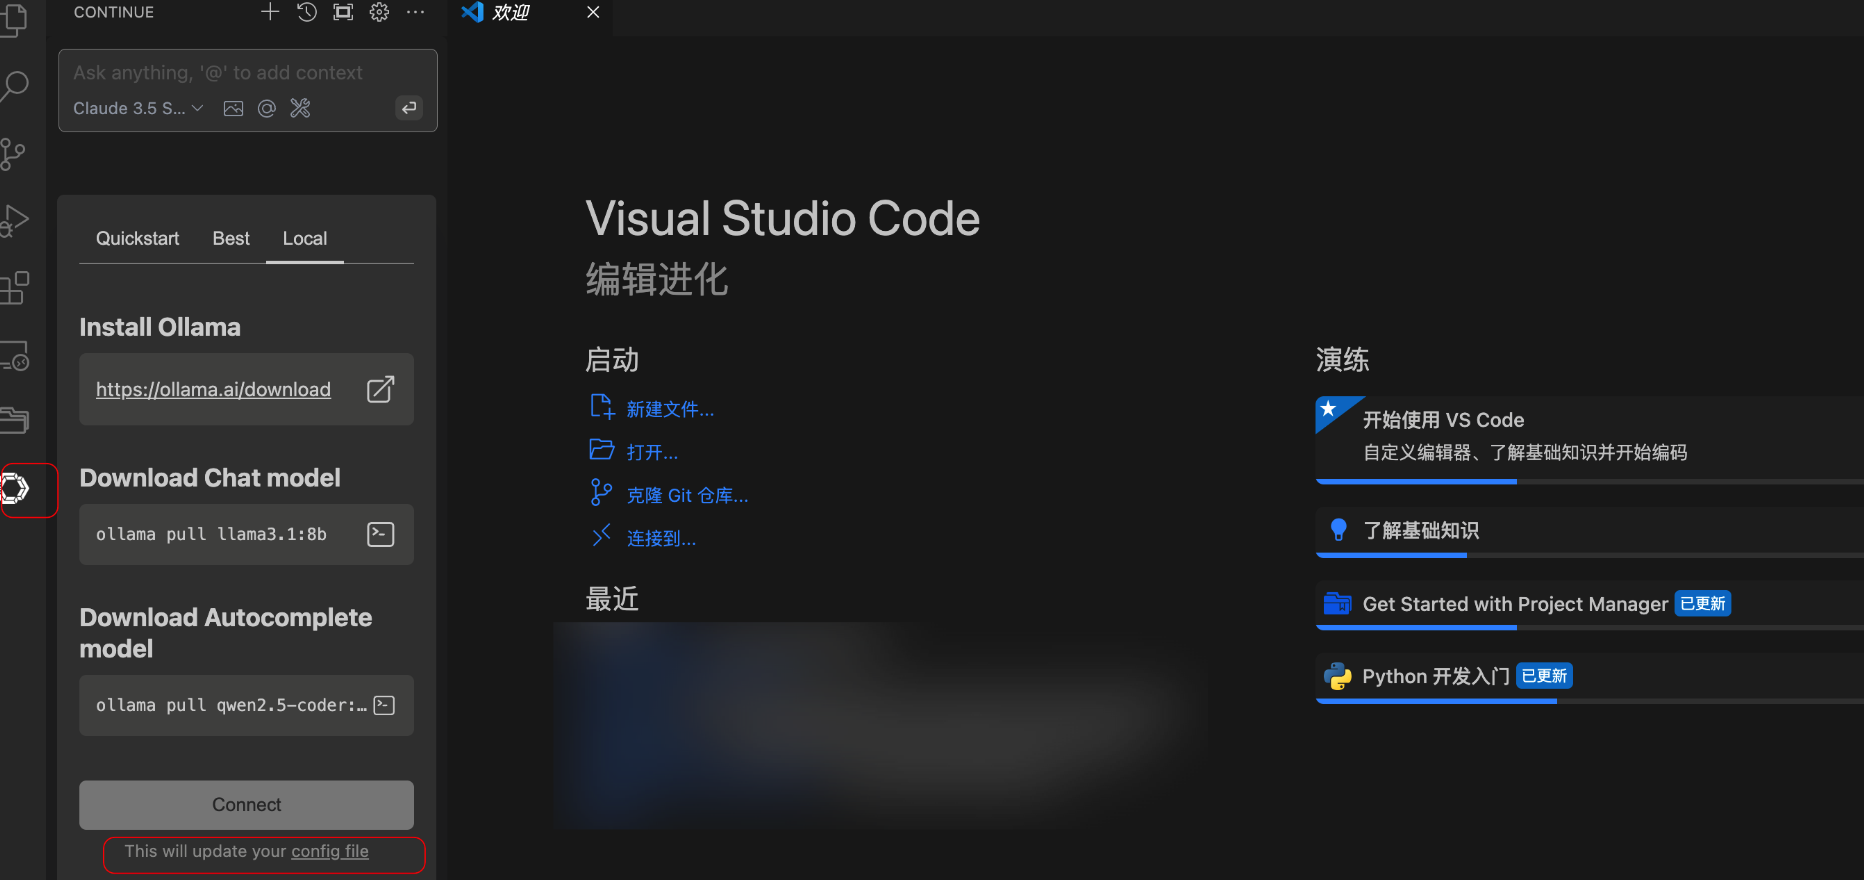
chat功能的配置
使用本地自己部署的模型api
    "models": [
        {
            "title": "DeepSeek Coder 6.7B",
            "provider": "ollama",
            "model": "deepseek-coder:6.7b",
            "apiBase": "http://localhost:11434"
        }
    ]
autocomplete的配置
{
  "tabAutocompleteModel": {
    "title": "Qwen2.5-Coder 1.5B",
    "model": "qwen2.5-coder:1.5b-base",
    "provider": "ollama",
    "apiBase": "http://<my endpoint>:11434"
  }
}